Does vinyl flooring need underlay?

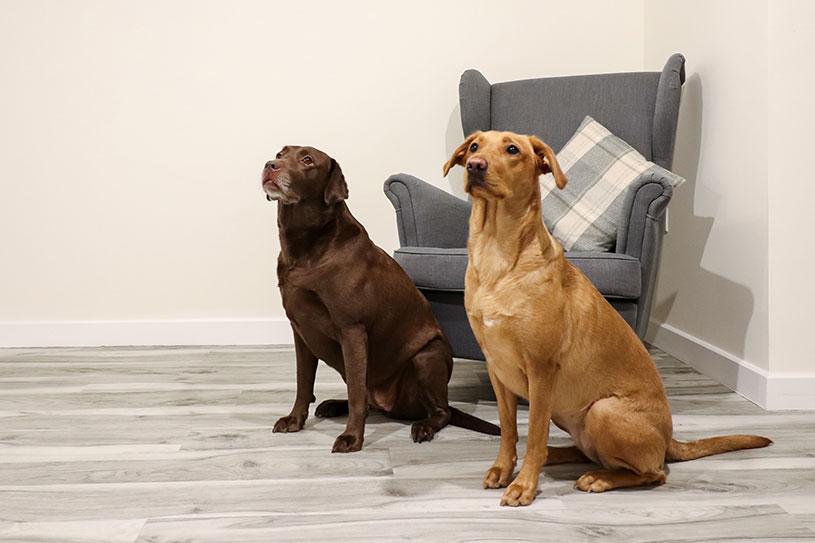
At Floors for Paws, we supply the best flooring for dogs in a range of choices. Here, we discuss what is needed for successful installation, whether you have vinyl rolls, luxury vinyl tiles, or luxury vinyl planks.


What is underlay?

Many of us with carpet in our homes, or businesses, are familiar with underlay (sometimes also called underlayment). Underlay is the layer between the floor covering and the floor surface (subfloor), designed to provide insulation, shock absorbency, noise reduction and cushioning. Carpet underlay can be made from foam, sponge rubber, felt and recycled crumb rubber.

Do you need underlay for vinyl flooring?

The multi-layer construction of vinyl flooring makes it the only type of flooring that does not require underlay. Our CAM (Canine Arthritis Management) approved Pawsafe Commercial range and Pawsafe Domestic range both feature a comfort backing for insulation and sound absorption, removing the need for underlay.

Do you need underlay for LVT?

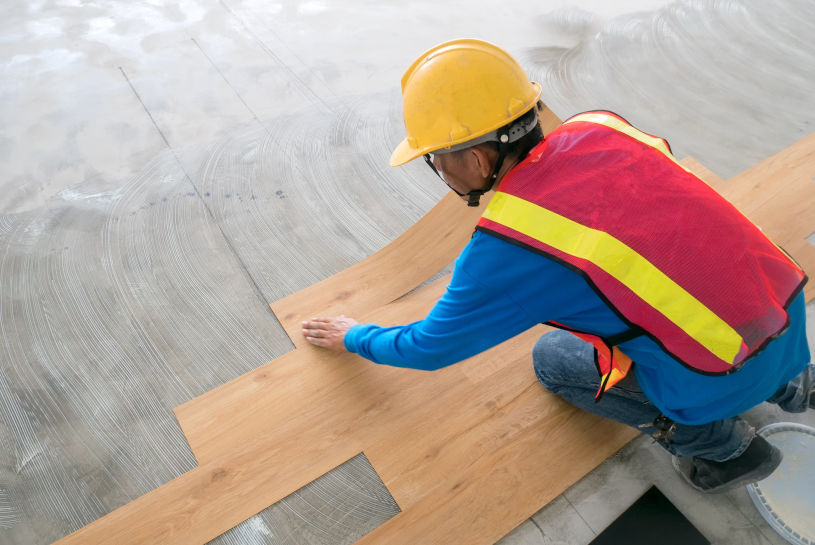
LVT (luxury vinyl tile) flooring is supplied in two installation options – click, or glue down. Click flooring features a tongue and groove system similar to laminate flooring, that enables the tiles to interlock or click together in place. Often called floating vinyl flooring, click LVT does require an underlay. Glue down LVT requires no underlay. At Floors for Paws, all our domestic and commercial flooring ranges are glue down.

Do you need an underlay for vinyl plank flooring?

We offer vinyl plank options as part of our Luxury vinyl range and our Pawsafe Domestic range and as both require glue down installation, our vinyl plank flooring does not need conventional underlay.

Do you need underlay for vinyl sheet flooring?

Our Pawsafe Commercial range is supplied in rolls, like carpet, and cut to length to fit the space to be covered. In this way, fewer joins or seams are required when installing the flooring, which makes vinyl sheet flooring the perfect solution for high traffic areas where the flooring is cleaned more than usual and the customer requires a completely waterproof floor. Vinyl sheet flooring is glued into place and needs no underlay.

How to prepare a floor for vinyl flooring

Having told you that none of our vinyl flooring ranges require a traditional underlay, we need to explain what you do need before preparing your subfloor for vinyl flooring.

The subfloor is the surface that your new flooring will sit on and could be floorboards, concrete, or ceramic tiles. Before new vinyl can be installed, the subfloor must be thoroughly and correctly prepared but please note that If your subfloor has old flooring on it such as carpet, old vinyl or lino, this should be removed before preparation begins.

The subfloor should be clear of all nails etc. before being thoroughly vacuumed. Once any damage has been repaired you will need to smooth and level the existing subfloor with a self levelling, smoothing compound such as latex, after a primer has been applied. Once the latex is completely dry – usually at least 24 hours later – your vinyl flooring can be installed. It is worth noting here, that even when installing click vinyl flooring, the subfloor beneath the underlay still needs to be in a smooth, level condition.

Preparing to install luxury vinyl flooring can be daunting which is why we always recommend the services of an authorised Floors for Paws installation engineer. They will carry out all necessary preparation of your floors, prior to installing your new vinyl. We are able to offer a 30-year product guarantee with our Pawsafe Domestic range and a 10-year product guarantee with our Pawsafe Commercial range.

For further details please email us at info@floorsforpaws.com or give our friendly team a call on 01522 300218.
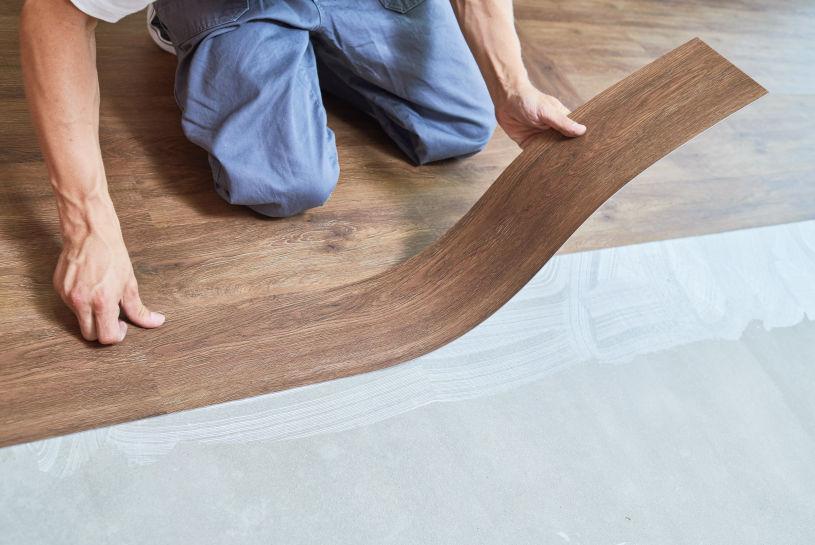
Preparing your sub-floor for luxury vinyl plank flooring

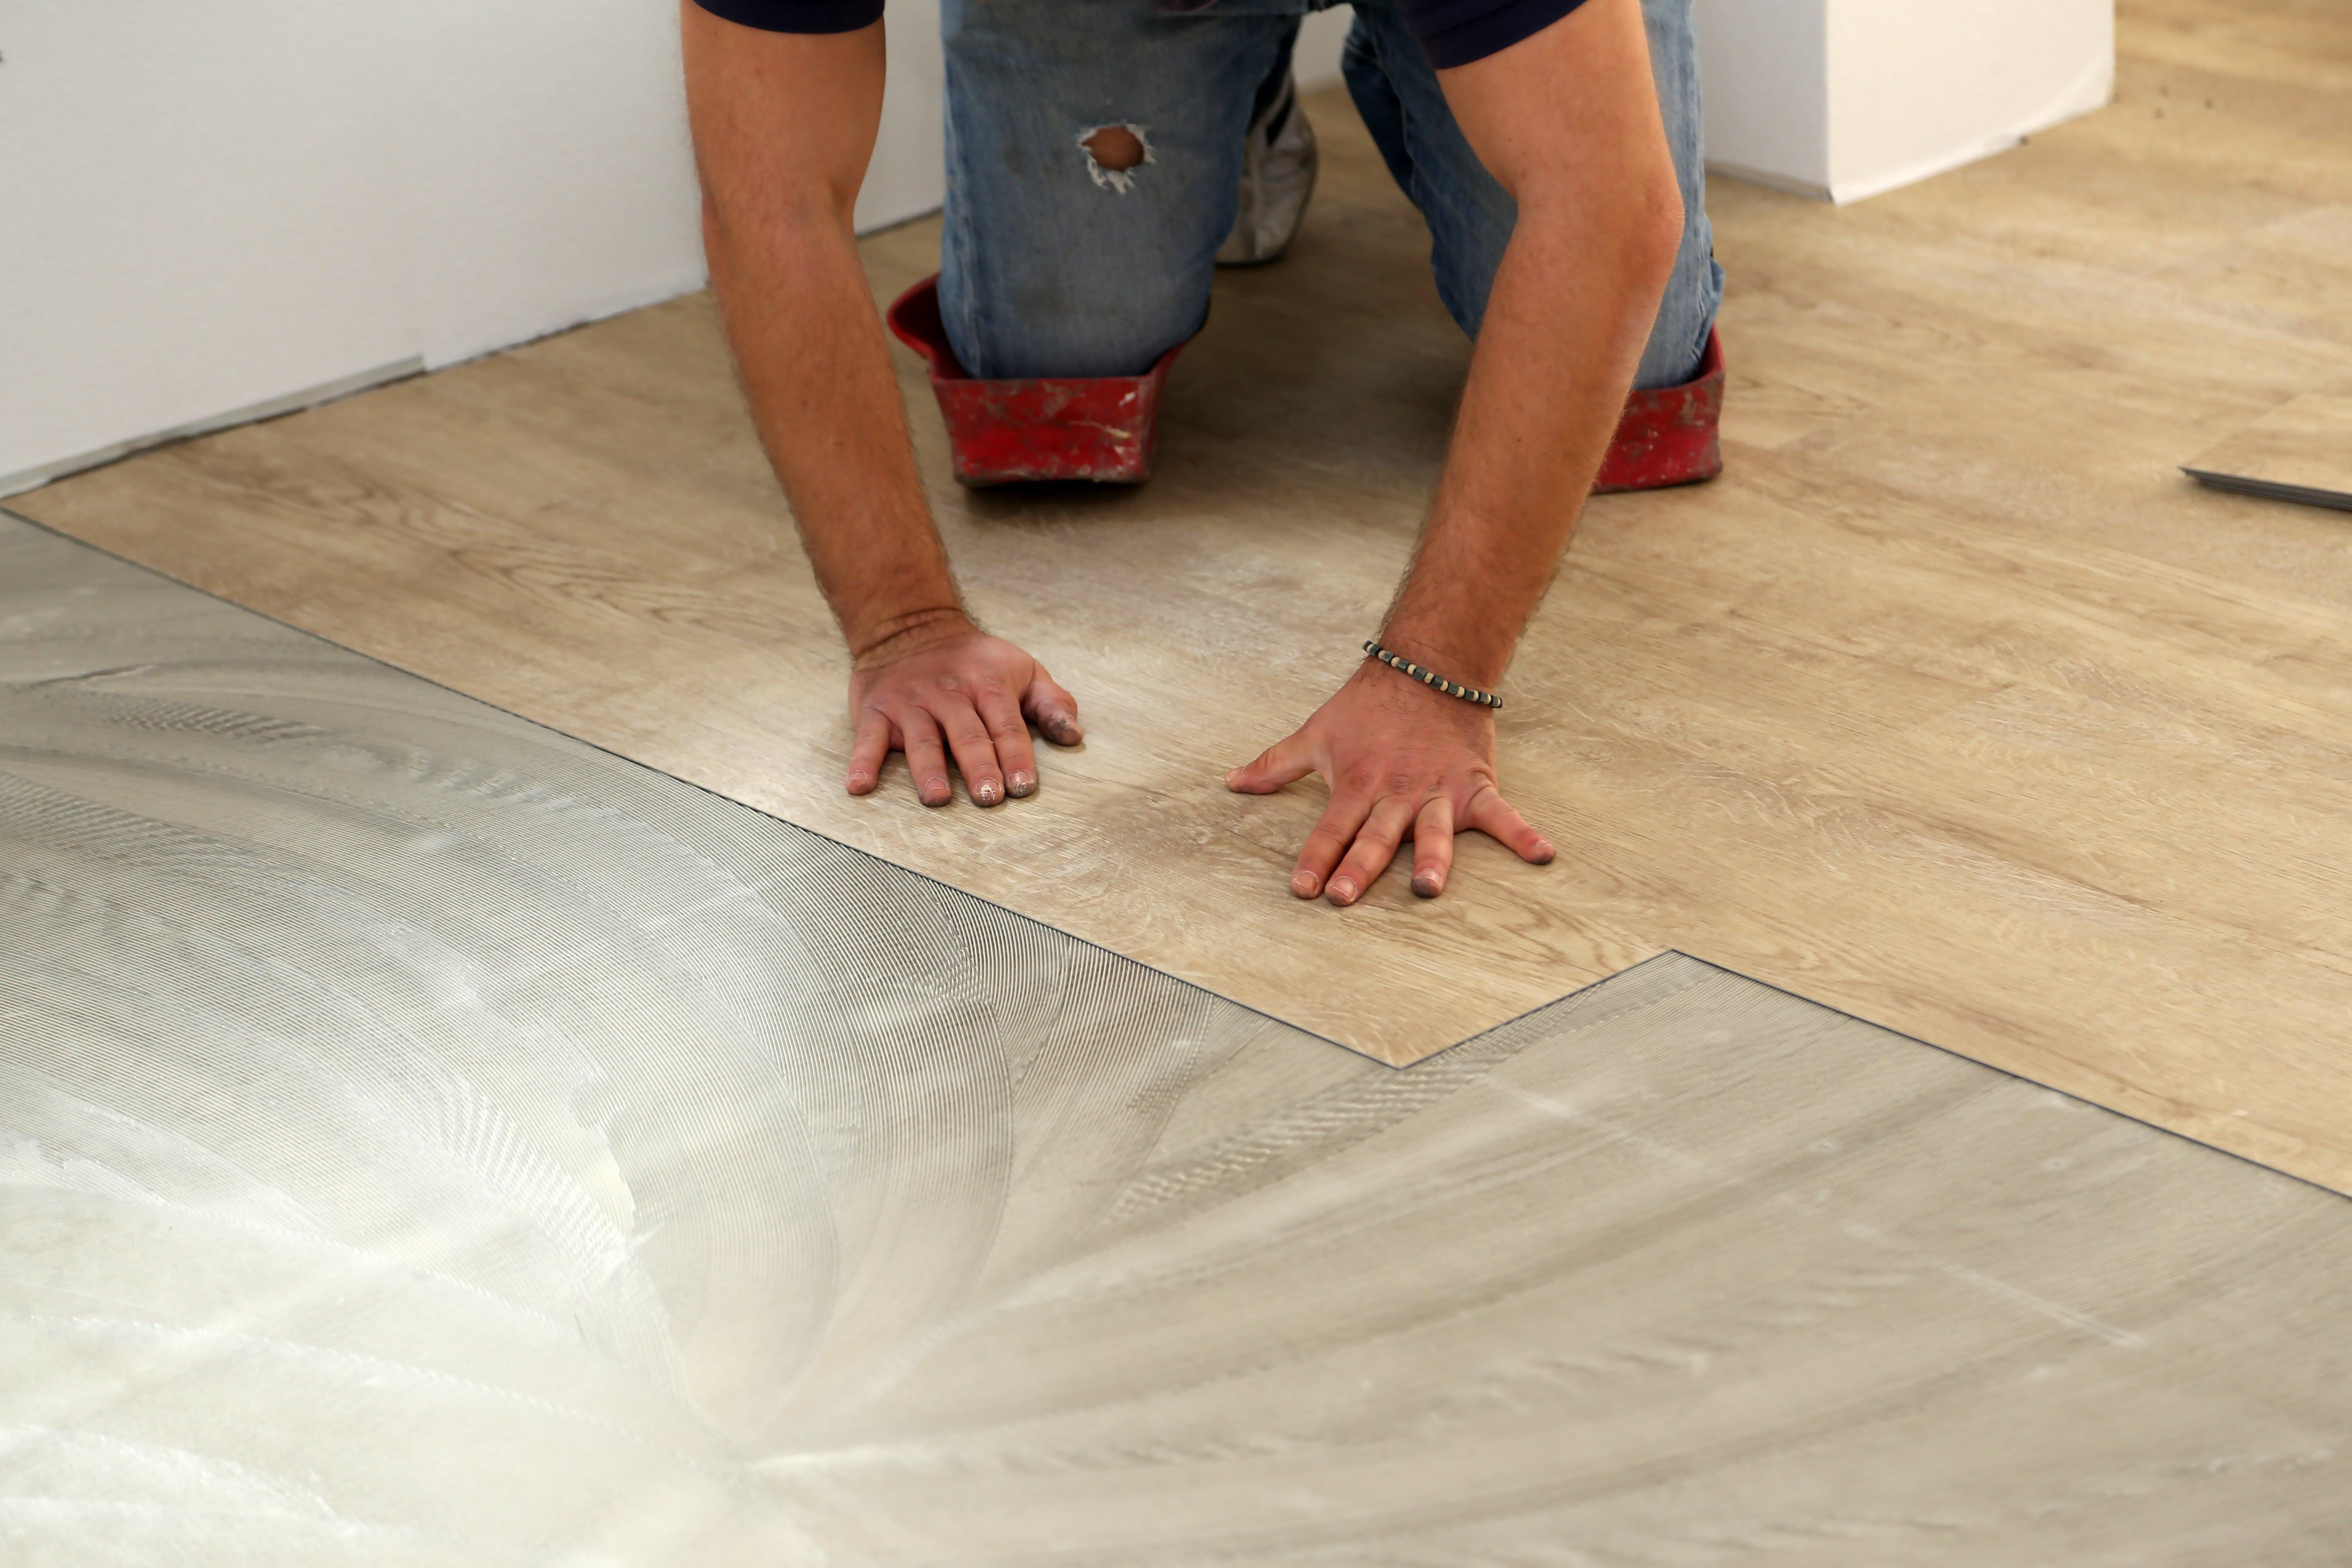
When preparing your subfloor for luxury vinyl plank (LVP) flooring, it is important to ensure that the surface is level, clean, and free of any debris or obstacles.

Here are some steps you can take to prepare your subfloor for LVP, if your subfloor is concrete:

1. Remove any existing flooring: This includes carpeting, tile, or hardwood. Be sure toremove any nails, staples, or adhesive residue left behind.

2. Inspect the subfloor: Look for any cracks, holes, or uneven areas that need to be repaired. If the subfloor is made of concrete, check for moisture issues by using a
moisture meter.

3. If the moisture reader shows a relative humidity (RH) of over 75% the use of a damp proof membrane is necessary (unless you wish to wait to install your floor until the
concrete is completely dry.

4. A damp proof membrane (DPM) is a layer of material that is installed between the subfloor and the final flooring to prevent moisture from penetrating the surface of the
flooring. It is relatively easy to install and can help to extend the lifespan of your flooring.Remember to also check if the manufacturer of the LVP you choose specifies any other requirement for installing the flooring, such as a vapor barrier.

5. Clean the subfloor: This is important to ensure that there is no dust or debris that can interfere with the application of the latex smoothing compound. Use a broom or vacuum to remove any dirt, dust, or debris.

6. Repair any damage. Use repair mortar or a crack repair kit to repair any uneven areas or cracks in the subfloor.

7. Before installing the LVP, it’s important to make sure that the subfloor is level and dry. Use a self-levelling smoothing compound to smooth them out. 2-3mm of smoothing compound will dry to walk on within 2 hours however will need at least 24 hours to dry sufficiently for the LVP to be adhered to it. With most levelling compounds you need to apply a primer to the subfloor before putting the levelling compound down.

8. Test the subfloor: Before installing the LVP, it’s important to make sure that the subfloor is level and dry. Use a self-levelling compound to smooth them out. 2-3mm of latex will dry to walk on within 2 hours however will need at least 24 hours to dry sufficiently for the LVP to be adhered to it.

By following these steps, you will ensure that your subfloor is properly prepared for the installation of LVP flooring. This will help to ensure that the flooring is installed correctly and will last for many years to come.

Our Pawsafe Domestic range and our Luxury Vinyl range are supplied in a choice of plank or tile options in a range of attractive wood- and stone-effect finishes to satisfy the most house proud amongst us.

Glue Down or Click?

Glue Down LVT or Click? A fitter’s perspective;

Luxury Vinyl Tiles used to be a floorcovering few could afford. Now with the arrival of many new brands and manufacturers, it has become a huge growth sector within the flooring industry and with the new build sector installing so much in new homes, the term LVT seems to be a term the buying public are embracing across all walks of life.

From low end budget tiles and planks to top spec designer floors the demand for this kind of floorcovering seems to be ceaseless in the south east of England and seemingly across the rest of the UK.

As a flooring installer of 30 years I am often asked to lay the lock or click together LVTs, these are relatively new player in an established game, but I struggle to see their place in an ever expanding market.

LVT flooring has always been about its versatility, combining wood look planks with stones and metallic styles, adding borders, compasses, hand cut motifs all the skilled parts of the job we’ve been trained to do, that set the Luxury vinyl tile market apart from other flooring – these things aren’t, as far as I have seen, possible with a click or lock system.

The preparation for the dry backed floors is often spoken about as being to expensive and puts the end user off the purchase, but it is my experience that the lock system flooring needs as much and sometimes more preparatory work before the installation can commence and the underlay has to be stuck down I just cannot see a benefit in these floors within the professional flooring industry. I haven’t even touched on the fact these lock tiles need an expansion gap to the perimeter of the room, but they do. I’ve also found that in direct sunlight such as an orangery or in front of patio doors, these lock tiles seem to ‘tent’ in the heat that is to say the tiles expand against each other pushing on the joint causing the tiles to lift and look extremely unsightly. With dry backed tiles we have high temperature adhesives to overcome such issues. During the hot summer we have just had in 2018 I looked at, at least 5 jobs fitted by others that had failed in this way.

Then there’s the maintenance, a dry back tile damaged by the end user can easily be lifted and replaced by a decent installer, whilst the lock tiles are replaceable it’s a substantially longer process to do and far more invasive.

Despite my negativity I do see that these lock together tiles have a place in the DIY market, and maybe even for commercial use where flooring can be installed and removed with little fuss to for example a retailer of office environment – but if you want a statement floor, that is unique to you and your home dry backs such as the Paws for Floors range are the way to go, the Floors for Paws can easily be laid with a single plank border or fitted at 45 degrees without the need for an expansion gap or unsightly mastic to the perimeter making them in my opinion an exceptional choice for those with or without pets.

Richard Fordham
Registered installer for Floors For Paws LTD

https://www.trustatrader.com/traders/r-fordham-flooring-carpet-repairs-southend-on-sea

https://rfordhamflooring.com/

Preparing you floor for Floors for Paws

To ensure you have a lifetime of hassle free flooring it is essential to have your sub-floor prepared in the correct manner. If you have a perfectly smooth and dry sub-floor you can simply adhere Floors For Paws directly onto it. Unfortunately this is rarely the case, so we would like to look at the best solutions.

Latex sub-floor
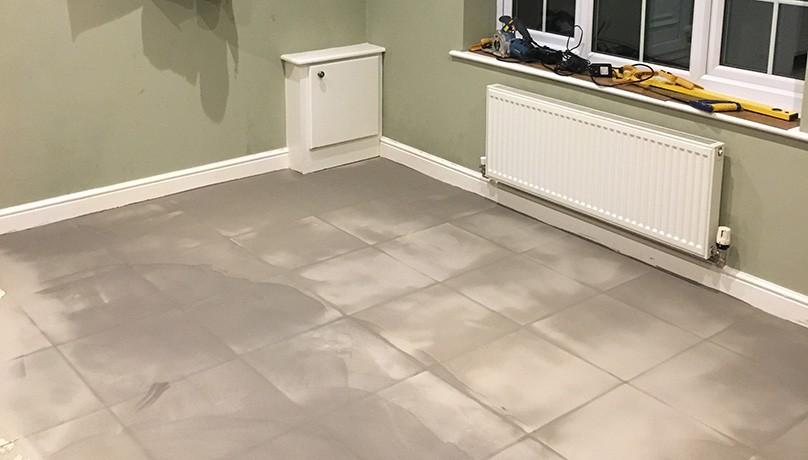
This option is a quick and trusted process to ensure your FFP is fitted onto a suitable base. It is used on existing concrete floors that need to be smooth and levelled. Quick drying options such as the Stopgap 300 is ready to walk on in 2 hours and to work on in 4. This solution is also ideal for going over existing tile floors (who wants to take out all the tiles and build up again!) The photo below shows a kitchen diner before and after being latexed. As you can see the grout lines show through while it is drying but as long as 3-4mm is applied onto the tiles the surface will dry completely smooth.


1. Tiled floor


2. Two hours post latex


3. Floors for Paws Greenwood flooring

SP101 Ply board – Flooring Grade
Ply board should be used over existing wood flooring, or when you need to bring up the level of the floor by over 4mm. In the case below the carpet that was removed was 10mm and therefore too deep to apply a latex without the need for Grano chippings. This depth of latex would take two months to dry! The 9mm ply board is cut into place and secured with mechanical fixings at regular intervals to ensure no movement. The ply board is then ready for FFP to be adhered directly onto it. We recommend a minimum of a 6mm ply board base.


4. Build up with 9mm ply


5. Floors for Paws Wychwood flooring

If you are not a DIY nut; don’t worry because our recommended installers can carry out the preparation and installation for you.

Here our superb installation engineer John carries out fitting of 130 sqm of Greenwood to Rigsby Wold Holiday cottages new accommodation. For more details on this Dog friendly holiday please visit Rigsby Wold Holiday Cottages.

Call us today to discuss any aspect of your project on 01937 830948.